Understanding the Need for Replacement: Peerless Bathroom Faucet Cartridge Replacement
Your bathroom faucet is a vital part of your daily routine, providing you with the convenience of clean water for various tasks. Over time, however, even the most durable faucets can experience wear and tear, leading to performance issues that can disrupt your daily life. One of the most common culprits behind these issues is a worn-out faucet cartridge.
A worn-out cartridge can significantly impact your faucet’s functionality, causing inconveniences and potential damage if left unaddressed. Recognizing the signs of a failing cartridge is crucial for timely replacement and preventing further complications.
Signs of a Worn-Out Cartridge
- Leaking Faucet: A consistent drip or leak from the faucet spout or base is a telltale sign of a worn-out cartridge. The seals within the cartridge deteriorate over time, allowing water to escape.
- Difficulty Controlling Water Flow: If you struggle to adjust the water flow from a trickle to a full stream, or experience inconsistent water pressure, it could indicate a problem with the cartridge’s internal components.
- Temperature Control Issues: A worn-out cartridge can also affect your ability to regulate the water temperature. You might experience sudden temperature fluctuations or difficulty achieving the desired temperature setting.
- Noisy Operation: A worn-out cartridge can cause unusual noises during operation, such as grinding, clicking, or whistling sounds. These noises often indicate that the cartridge’s internal components are damaged or worn.
Consequences of Delaying Cartridge Replacement
Ignoring a worn-out cartridge can lead to several consequences, some of which can be costly and inconvenient.
- Increased Water Waste: A leaky faucet can waste significant amounts of water, increasing your water bill and contributing to water conservation concerns.
- Damage to Faucet and Fixtures: Continuous leaking can damage the faucet itself, leading to corrosion and potentially requiring a complete faucet replacement. In extreme cases, it can even damage surrounding fixtures and surfaces.
- Mold and Mildew Growth: Persistent leaks can create a damp environment, encouraging the growth of mold and mildew, which can pose health risks and damage your bathroom.
- Increased Energy Consumption: If the hot water flow is compromised, you may need to run the water longer to achieve the desired temperature, leading to increased energy consumption and higher heating costs.
Step-by-Step Replacement Process
Now that you understand the need for replacing the cartridge, let’s dive into the step-by-step process. This guide will equip you with the necessary knowledge and skills to tackle this common plumbing task.
Shutting Off the Water Supply and Draining the Faucet
Before you start disassembling the faucet, it’s crucial to shut off the water supply to prevent any unwanted leaks or spills.
- Locate the Water Supply Valves: Most bathroom faucets have two water supply valves, one for hot water and one for cold water. These valves are usually located behind the faucet or underneath the sink.
- Turn the Valves: Turn the valves clockwise until they are completely closed. You’ll feel resistance as the valves close, and you’ll hear a clicking sound as they stop.
- Drain the Faucet: Once the water supply is off, open the faucet to drain any remaining water in the lines. This prevents water from spilling when you start taking apart the faucet.
Removing the Old Cartridge
Now that the water is off and the faucet is drained, you can begin removing the old cartridge.
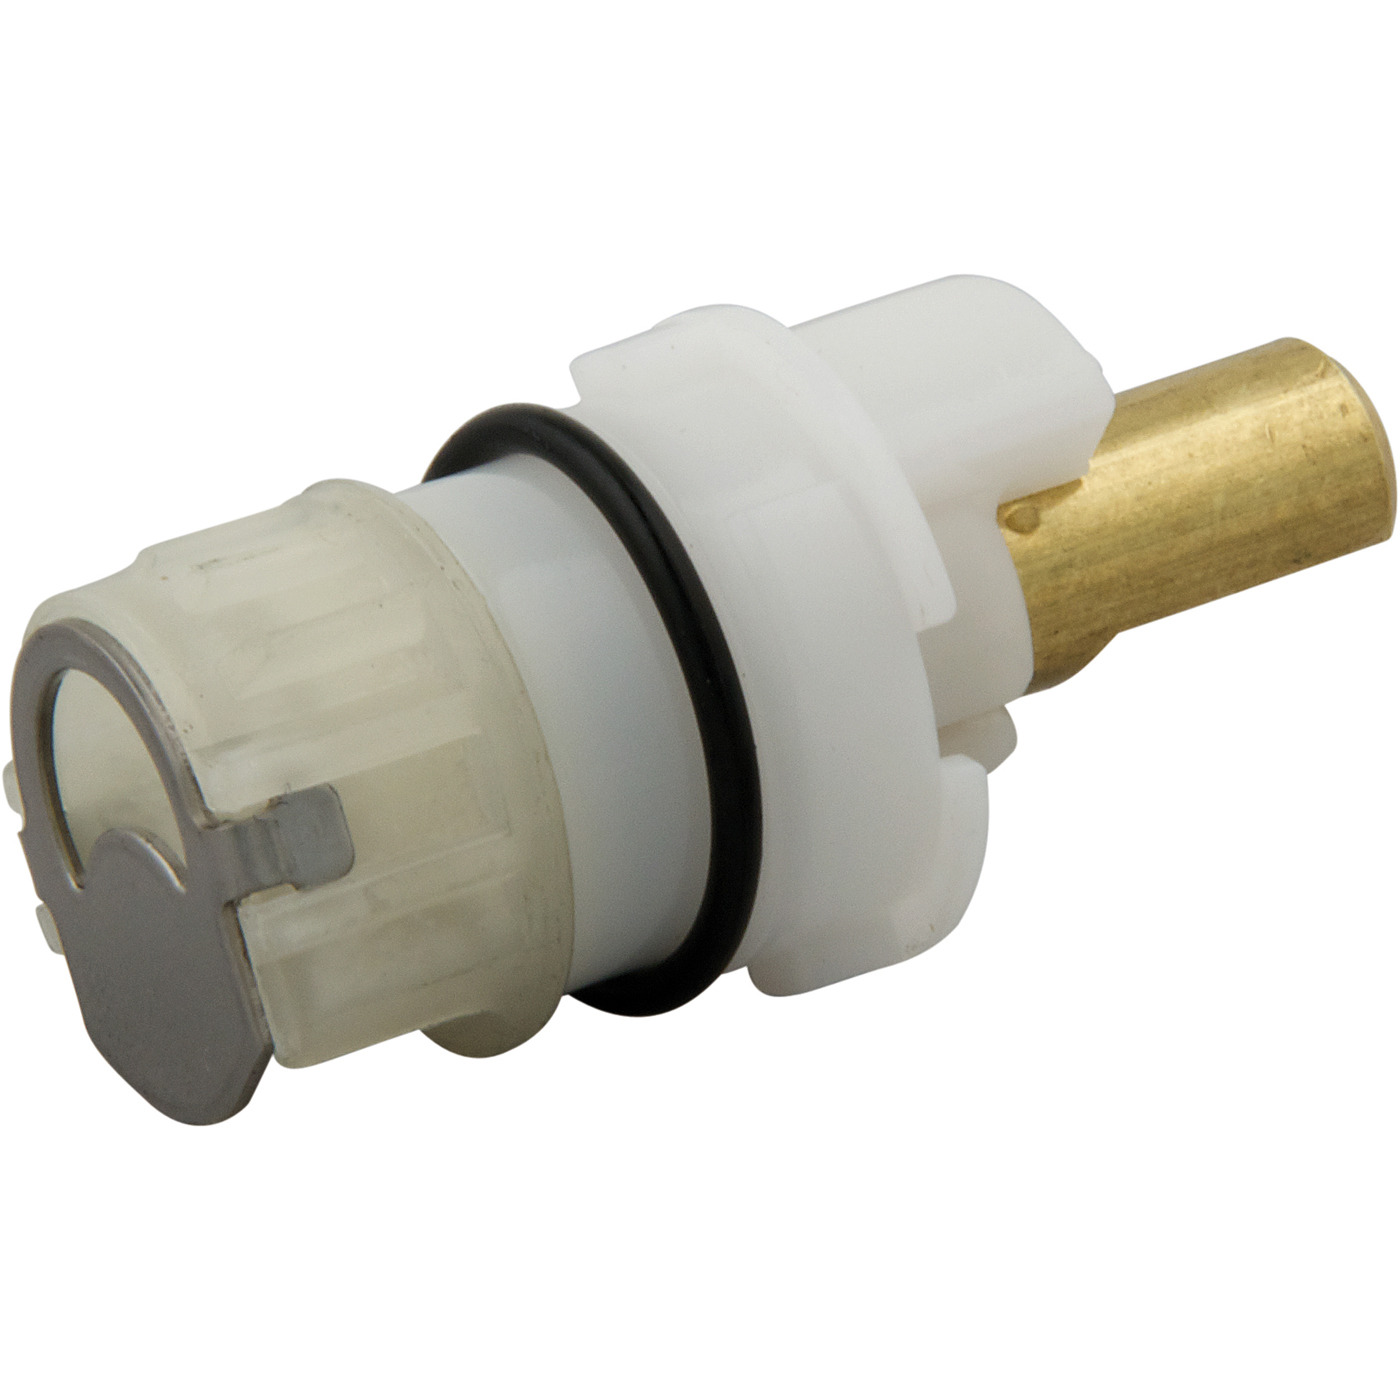
- Locate the Cartridge: The cartridge is typically located within the handle of the faucet. It might be hidden by a decorative cap or a small screw.
- Remove the Handle: To access the cartridge, you’ll need to remove the handle. This usually involves removing a screw or a set screw that holds the handle in place.
- Remove the Cartridge Retaining Nut: Once the handle is off, you’ll see the cartridge retaining nut. This nut holds the cartridge in place. Use a wrench or pliers to unscrew the retaining nut.
- Remove the Cartridge: After the retaining nut is removed, gently pull the old cartridge out of the faucet body. Be careful not to damage the faucet body or the surrounding parts.
Installing the New Cartridge
Now it’s time to install the new cartridge.
- Prepare the New Cartridge: Inspect the new cartridge for any debris or damage. If necessary, clean the cartridge with a soft cloth or a toothbrush.
- Insert the New Cartridge: Carefully insert the new cartridge into the faucet body. Make sure it sits flush with the faucet body and aligns with the valve stem.
- Tighten the Retaining Nut: Secure the new cartridge by tightening the retaining nut. Don’t overtighten, as this can damage the cartridge or the faucet body.
- Reinstall the Handle: Reinstall the handle and secure it with the screw or set screw. Make sure the handle is securely fastened to the faucet body.
Turning the Water Supply Back On and Testing the Faucet
You’re almost done! Now you need to turn the water supply back on and test the new cartridge.
- Turn on the Water Supply: Slowly turn the water supply valves counterclockwise until they are fully open.
- Check for Leaks: Carefully inspect the faucet for any leaks. If you see any leaks, tighten the retaining nut or the handle screw.
- Test the Faucet: Turn the faucet on and off a few times to ensure that the new cartridge is working properly. Check for any unusual sounds or leaks.
Troubleshooting Tips
While replacing a faucet cartridge is a straightforward process, you may encounter some challenges. Here are a few troubleshooting tips:
- If the Cartridge Won’t Come Out: Use a cartridge removal tool or a pair of pliers to help remove the cartridge. Be careful not to damage the faucet body.
- If the Faucet Leaks: Tighten the retaining nut or the handle screw. If the leak persists, check for any worn or damaged parts.
- If the Faucet Doesn’t Work Properly: Make sure the new cartridge is properly installed and that the valve stem is aligned correctly. If the problem persists, you may need to consult a plumber.
Testing and Maintenance

After installing the new cartridge, it’s essential to thoroughly test its functionality to ensure a smooth and leak-free operation. Regular maintenance also plays a crucial role in extending the lifespan of your faucet and preventing future cartridge issues.
Testing the New Cartridge
Testing the new cartridge after installation is a crucial step to ensure its proper functioning and prevent any potential leaks or malfunctions. Here’s a step-by-step guide to help you test the new cartridge:
- Turn on the water supply: After installing the new cartridge, turn the water supply back on and check for any leaks around the faucet base or handle. If you notice any leaks, immediately turn off the water supply and tighten the cartridge or faucet connections.
- Test the water flow: Open the faucet and check the water flow. The water should flow smoothly and without any obstructions. If you notice any inconsistencies or reduced flow, check for any debris or obstructions in the faucet spout or aerator.
- Test the temperature control: For faucets with temperature control, test the hot and cold water settings. The temperature should adjust smoothly and accurately. If you notice any issues with temperature control, it may indicate a problem with the cartridge or the faucet’s internal mechanisms.
- Check for leaks: After running the water for a few minutes, check for any leaks around the cartridge, faucet base, or handles. If you notice any leaks, turn off the water supply and re-tighten the connections.
Regular Maintenance, Peerless bathroom faucet cartridge replacement
Regular maintenance is essential to prevent future cartridge issues and extend the life of your faucet. Here are some important maintenance tips:
- Clean the faucet regularly: Wipe down the faucet with a soft, damp cloth to remove any dirt, grime, or mineral deposits. Avoid using harsh chemicals or abrasive cleaners, as these can damage the finish.
- Clean the aerator: The aerator is a small, removable part at the end of the faucet spout that helps to mix air with the water, creating a smooth and even flow. Over time, the aerator can become clogged with debris, reducing water flow. To clean the aerator, unscrew it from the faucet spout and soak it in vinegar or a commercial cleaner for a few minutes. Rinse the aerator thoroughly and reattach it to the faucet spout.
- Lubricate the faucet: Apply a small amount of silicone-based lubricant to the faucet handles and cartridge to prevent sticking or squeaking. Avoid using oil-based lubricants, as these can attract dirt and grime.
- Check for leaks: Regularly check for any leaks around the faucet base, handles, or cartridge. If you notice any leaks, address them promptly to prevent further damage and water waste.
“By following these simple maintenance tips, you can help to extend the life of your faucet and prevent future cartridge issues.”

